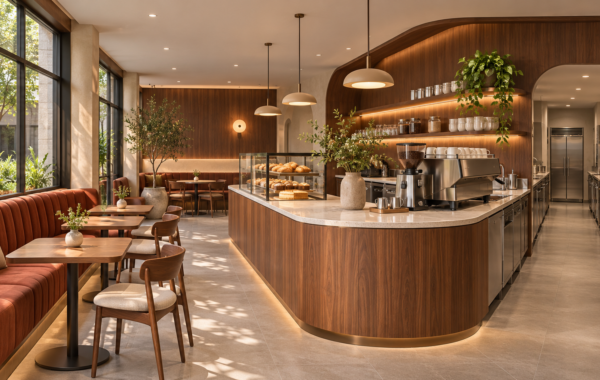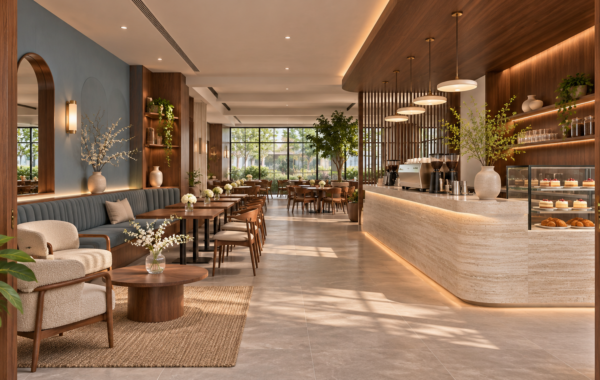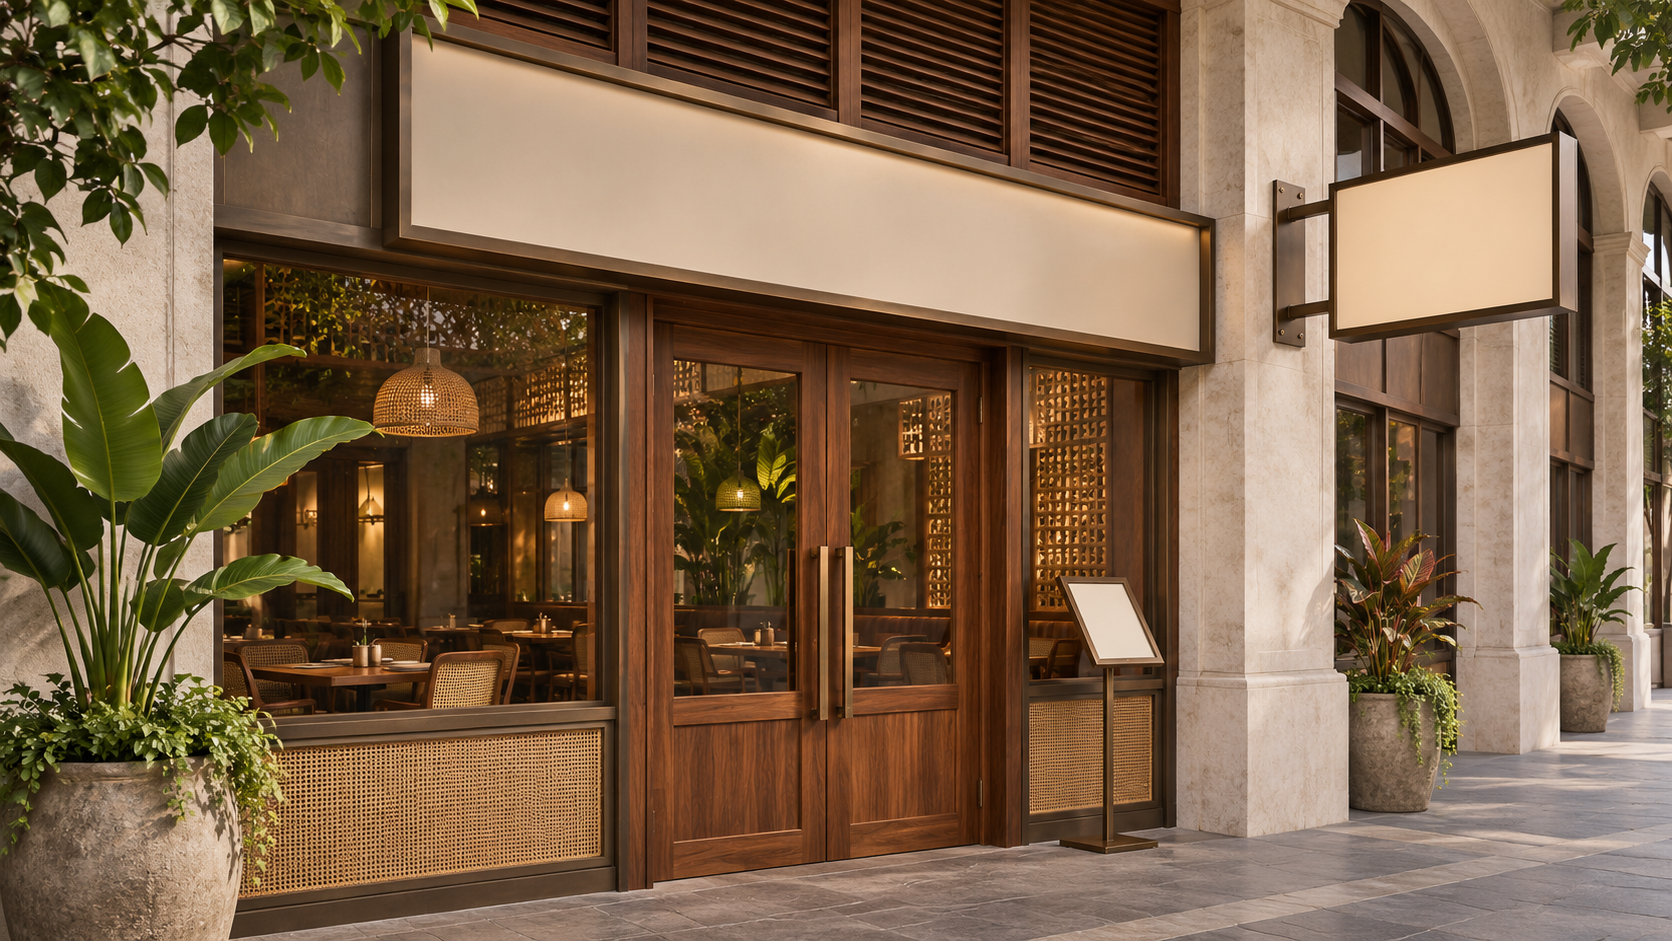

A franchise logo may stay the same while its sign package changes from branch to branch. Shopfront proportions, neighbouring tenants, available mounting surfaces and the way customers approach each entrance all need attention. For a Selangor rollout, coordinate signage as a fit-out work package rather than sending a logo file to the fabricator near opening day.
The useful output is a branch-specific sign schedule tied to the current drawings. It should tell the brand team, designer, installer and operator what each sign says, where it goes, what it needs and which decisions remain open. This article focuses on that coordination; it does not prescribe local approval requirements or technical fixing details.
Start with a sign inventory for the customer journey
Walk the intended journey from the approach to the order point and dining area. List the external identity sign, entrance information, ordering instructions, collection identification and internal directions that the operating model actually needs. Separate permanent information from promotions that staff will change frequently. Avoid filling every available wall simply because a brand template includes many graphics.
Give each sign a reference and mark it on a plan or elevation. A reference such as “entrance identity” is more useful than “large logo” when several signs are being discussed. Record the exact text, artwork revision and intended viewer. Check spelling and branch-specific information before evaluating finishes.
Distinguish the brand standard from the local condition
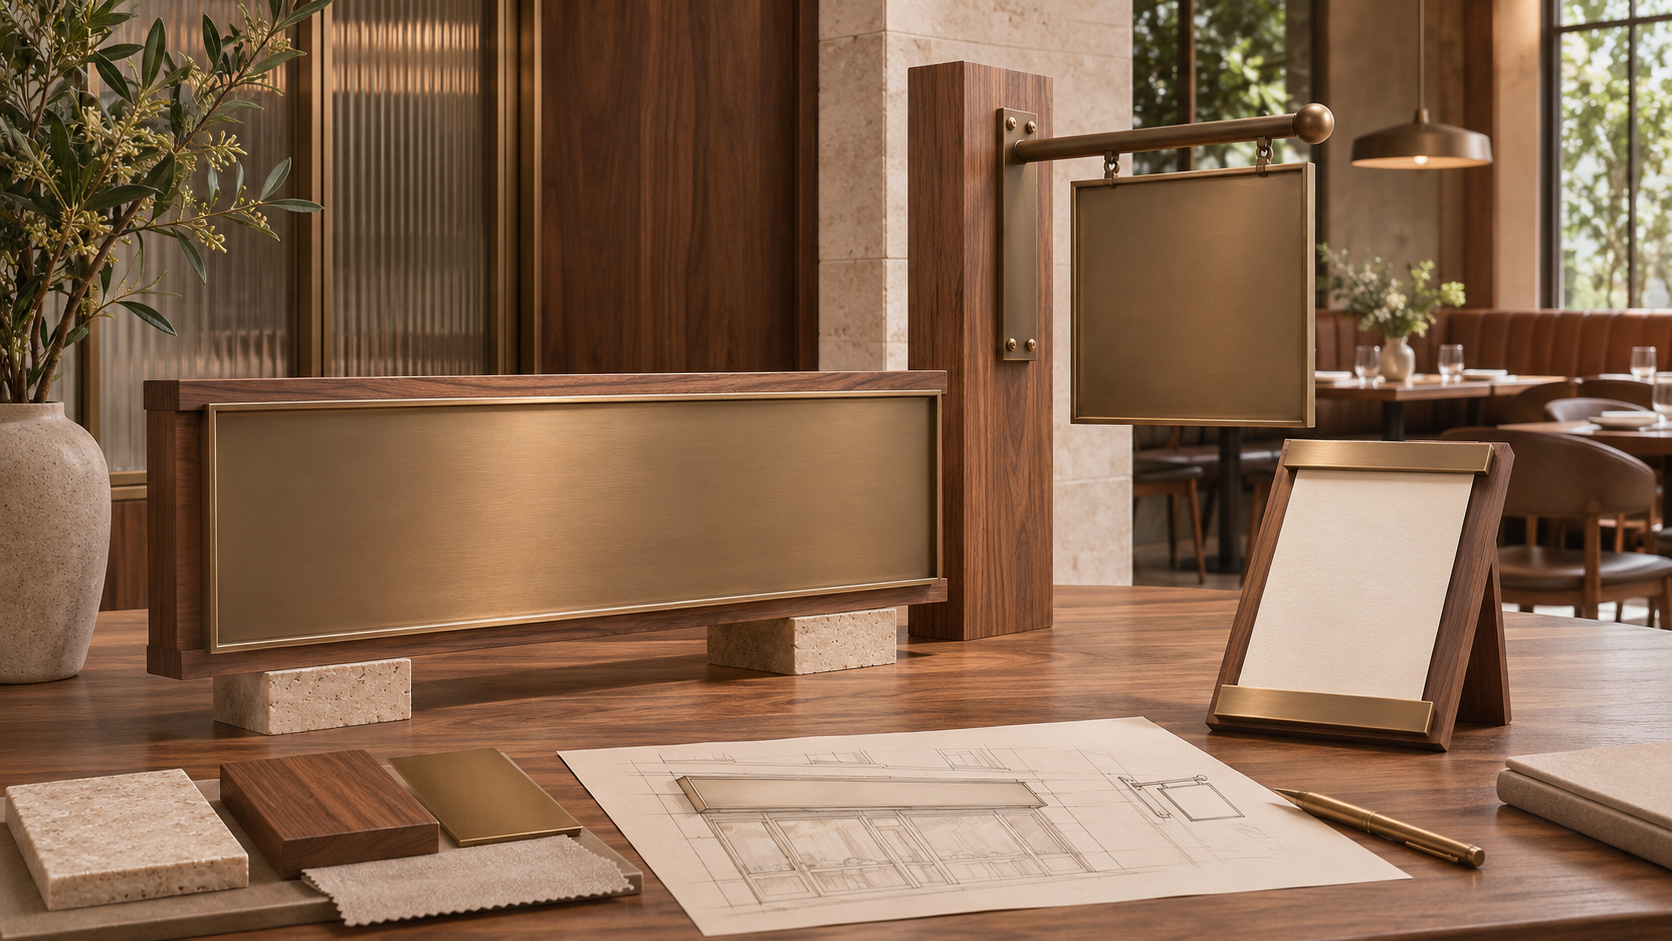
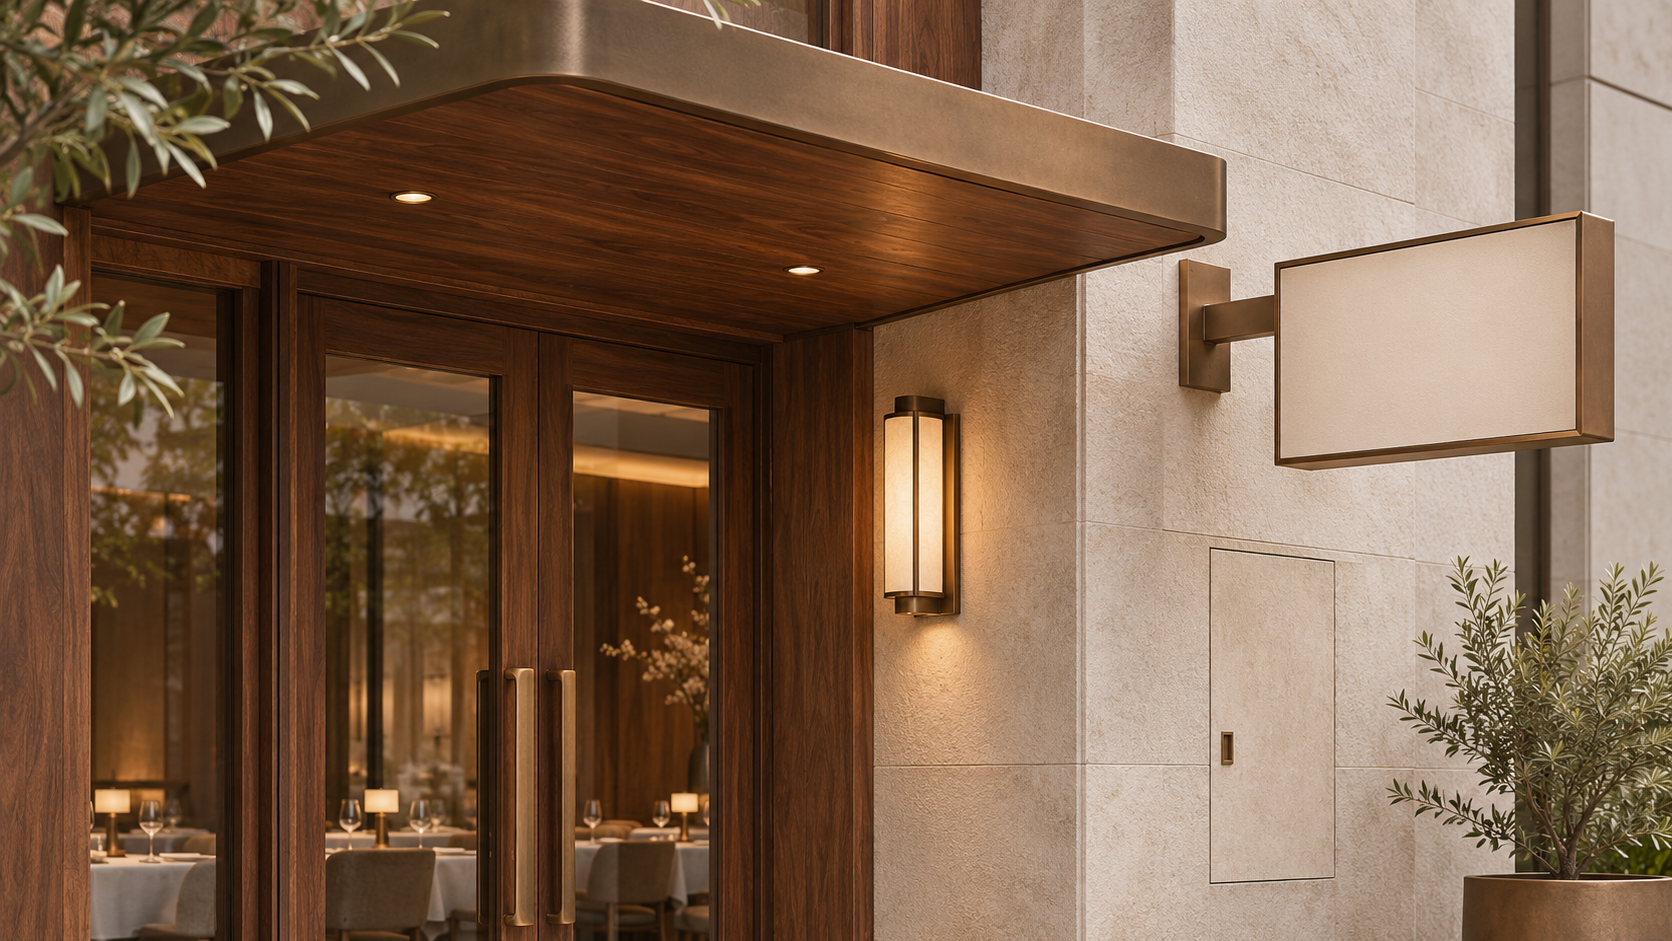
Keep the approved logo artwork and brand colours controlled, but check the actual sign zone before scaling artwork. Ask the survey team to record the available area, surrounding features and relevant photographs. Note which dimensions are measured and which still need confirmation. A photograph without a reliable scale should not become a fabrication instruction.
The Sabak Bernam District Council licensing page, for example, lists a coloured sign visual and a photograph of the installation location among relevant application documents. Treat that as a local example, not a Selangor-wide checklist. Confirm the current submission requirements with the authority responsible for each branch and the building management before committing the sign package.
Make the interfaces visible in one schedule
| Sign item | Coordination question | Record to close |
|---|---|---|
| External identity | Where does it mount and who verifies the support? | Location drawing and responsible reviewer |
| Illuminated sign | Who provides power, switching and access? | Coordinated specialist details |
| Ordering information | Can guests see it before choosing where to stand? | Tested position and agreed wording |
| Changeable promotion | Who replaces it and where is spare content kept? | Operating method and storage location |
| Branch variation | What differs from the brand template? | Accepted branch-specific artwork |
Coordinate power and maintenance before enclosing the work
For illuminated signage, ask the sign supplier and electrical team to agree their interface. Record who supplies the equipment, where associated components sit and how the sign will be switched and serviced. Give the responsible specialists the actual product information. Do not ask an installer to guess connections from an attractive shopfront rendering.
Review how a failed component could be reached after adjacent ceilings or joinery are complete. Ask whether access requires moving furniture, opening a panel or entering another tenant’s space. Resolve the access arrangement with the relevant parties while the details are still adjustable. Keep servicing access clear in the final design rather than relying on an undocumented workaround.
Review the artwork at the intended viewing position
Print or mock up critical wording at a useful scale and view it from the actual approach where practical. Look for competing reflections, furniture, door positions and other signs that could hide it. Ask someone unfamiliar with the layout to identify the entrance and next step. Record what confused them instead of coaching them through the test.
Review a daytime and evening scenario when lighting changes the appearance. Keep a list of observations: wording too long, an arrow visible only after the turn, or a promotion obscuring the entrance message. These are design-review questions, not a promise that a particular graphic treatment will increase sales. Use the counter and queue planning guide alongside the sign plan so the instructions match the operating layout.
Release a complete package, then check the installed result
Before fabrication, bring the accepted artwork, location drawing, material description and unresolved conditions together. State who authorises release and which branch the release covers. If a sign has an outstanding approval or technical question, keep that item visibly open rather than hiding the issue in an email chain.
At installation review, compare the actual wording and location with the released package. Check that temporary promotion boards have not covered permanent instructions. Give the branch manager a simple record of the final artwork and supplier contact, plus the agreed operating and maintenance instructions. Separate a local exception from the master template so the next branch does not inherit an accidental change.
Frequently asked questions
Can the same sign package be copied to every branch?
Use a controlled brand template, then review the actual branch dimensions, approach, mounting conditions and applicable requirements. Record local differences before release.
When should signage be discussed?
Start during layout and shopfront coordination. Power, supporting details and service access can affect other work, so they should be resolved before fabrication and enclosure.
Does an accepted brand visual mean the sign can be installed?
Brand acceptance is only one decision. Confirm the relevant authority, building-management and technical requirements for the actual location before proceeding.
Plan your F&B project with APIO
Share your premises, menu and the decisions you need to resolve through the APIO project planner. For a restaurant, cafe or pub in Selangor, bring your current layout and operational priorities so the discussion can focus on a useful design-and-build brief. You can also use the existing enquiry form below.